Assalamualaikum...For today, first hours we have to update our blog about what we learned. The PIC that not enough component, now already can be tested. Mr.Mazran gave software of programming that called
PICkit 2. This sofware is something new to me because microcontroller subject not one of my syllabus as student
BEnT(Bachelor Electronic Engineering in Telecommunication). Steps that we followed as below.
 |
| My PIC |
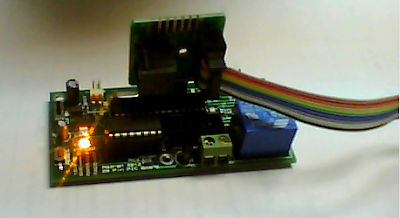
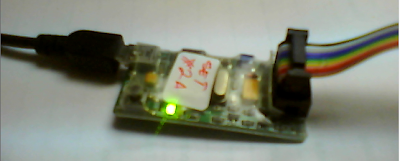
Above picture is one of my PIC after connected with my laptop. LED light up shown that there have a connection between laptop and PIC. For connect between PIC and laptop, we use Main Board as a medium. Figure below shown the picture of
Main Board(UIC00A) after connect with PIC and laptop.
 |
| Main Board(UIC00A) |
After connect PIC and main board to laptop, there have several steps to programming the 24-pin Microcontroller. The step start as below:
 |
| Figure 1 |
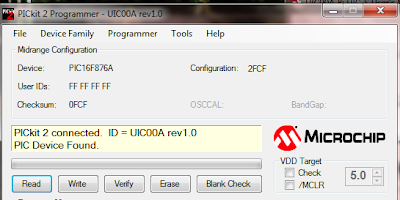
After connect PIC+UIC00A with laptop, open PICkit software that we install before this and check the connection between them. If the PICkit shown notice like Figure 1, please check the connection on tool. It's functioning like refresh the page. If the connection detect by PICkit, it will shown as Figure 2.
 |
| Figure 2 |
Then, we check for configuration on Midrange as shown in Figure 3. If the midrange was detected, it will shown as Figure 4 on status board.
 |
| Figure 3 |
 |
| Figure 4 |
Next, to program the 24-pin microcontroller, we must import hex file(.hex). We can only import hex file for UIC like Figure 5. After import, to complete programming to UIC, click on write option and if it successfully program, it will shown as Figure 6.
 |
| Figure 5 |
 |
| Figure 6 |
If we lazy yo click on write in software, we can set for only click on button on main board. set the setting on programmer and active on write on PICkit Button as shown on Figure 7. After setting the software like told, try to push the button and observe the status board. If it shown as Figure 8, it's means that the setting is correct and functional.
 |
| Figure 7 |
 |
| Figure 8 |
The next step just in case we want to auto import the hex file and write. Click on option at auto import hex + write devices to active the auto import+write. After change the setting, it will shown as Figure 9. If we want to exit from the auto import+write, just click on option auto import hex+write device again. It shown as Figure 10.
 |
| Figure 9 |
 |
| Figure 10 |
The importance steps to program UIC are from PICkit detect the device until import+write the hex file. This all that we learned. To use PICkit software and how to program hex file into UIC. Mr.Mazran also gave the manual how to use this software. So that, we can referred the manual to identified the problem if the circuit not functional as we want to.
~END~


